BIND DNS Configuration
Upgrade to the latest version of BIND
Before you begin to implement DNS Firewall in your BIND install it is recommended that you upgrade to the most recent version of BIND. We suggest that the upgrade be acquired directly from ISC (https://www.isc.org/downloads/bind/) instead of updating from a software repository. This will safeguard against downloading an out of date version, as some repositories are not regularly updated. By taking these measures you will ensure that you have the best possible support for DNS Firewall.
Enabling logging of DNS Firewall rewrites
To monitor, evaluate, and troubleshoot, RPZ logging needs to be enabled in your configuration (etc/named.conf).
logging {
 channel rpzlog {
  file "rpz.log" versions unlimited size 1000m;
  print-time yes;
  print-category yes;
  print-severity yes;
  severity info;
 };
 category rpz { rpzlog; };
};
With these settings your log file output for a DROP rewrite should look like the following:
1-Jan-2010 00:00:00.000 rpz: info: client @0x8ac7921a21d0 172.0.172.2#1286
(baddomain.hostname): rpz IP NXDOMAIN rewrite baddomain.hostname via
2.152.24.172.rpz-ip.botnetcc.host.org
Creating a Local Zone
A local zone is needed for creating exceptions to your DNS Firewall configuration. This zone is meant to include all of your blocks and whitelists that are separate from the DNS firewall feeds that you have subscribed to. An example of a local zone file is as follows (typically located in /var/named):
$TTL 300

@       IN SOA localhost.local.rpz. (

                20190101    ; Serial number
                60          ; Refresh every minute
                60          ; Retry every minute
                432000      ; Expire in 5 days
                60 )        ; Negative caching ttl 1 minute

                        IN NS LOCALHOST.

deteque.com                 IN CNAME    rpz-passthru.
*.deteque.com               IN CNAME    rpz-passthru.
32.25.195.194.34.rpz-ip     IN CNAME    rpz-passthru.   ;whitelist 34.194.195.25/32
32.71.219.156.35.rpz-ip     IN CNAME    rpz-passthru.   ;whitelist 35.156.219.71/32
baddomain.com               IN CNAME    .               ;local block against baddomain.com
*.baddomain.com             IN CNAME    .               ;local block against *.baddomain.com
Note: you can name your local zone whatever you wish, just change local.rpz to what you wish to name your local zone file. Remember to include a period at the end of the name. The following 4 record details after Serial Number (Refresh, Retry, Expire, Negative result TTL) are displayed in seconds and are always listed in this order.
It is recommended that anything that is critical to your network be added into this zone as a whitelist or rpz-passthru. Any internal network IPs and domains should also be included in this zone.
Defining Master and Slave Zones
Spamhaus runs a number of RPZ distribution servers in various locations. Please see out distribution servers page for more information https://docs.spamhaus.com/dns-firewall/docs/source/configuration/distribution-servers.html.
BIND requires that you define which zones will be used to action on DNS queries to your resolver in your named.conf file. First the local master should be defined:
zone "local.rpz" {

                type master;
                file "local.rpz";
                allow-transfer {none; };
                allow-query (localhost; };
};
The reason for allow-query being set to localhost is so only the resolver will be able to access the zones defined.
Next your slave zones will need to be defined and can look like the following:
zone "phish.host.dtq" {

                type slave;
                file "dbx.phish.host.dtq";
                masters { MASTER_ZONE_IPS; };
                allow-transfer { none; };
                allow-query { localhost; };
};
Since the slave zones are not located locally on the server, the master zone files IPs must be defined in every slave zone. Furthermore the slave zones should be set to “localhost” for allow-query.
Enabling IXFR zone transfers
Since DNS Firewall is designed to provide updates to malicious threat as continuously as possible, it is required that incremental (IXFR) transfers be enabled when accessing our DNS Firewall feeds. This will ensure that only the most up to date information is provided to your resolver. To setup this function you enter in the following to your named.conf:
options {
                ixfr-from-difference yes;
};
Enabling DNS Firewall
The last step in setting up your DNS Firewall is setting it to enabled in your named.conf file.
options {
        response-policy {

                        zone "local.rpz";
                        zone "drop.ip.dtq"     POLICY PASSTHRU;
                        zone "phish.host.dtq"  POLICY PASSTHRU;
        };

};
Note: in this configuration POLICY RPZ-PASSTHRU is included in enabling DNS Firewall. With passthru no enforcement will take place but the action of the passthru will be logged. In order to enforce the entries in a given zone POLICY RPZ-PASSTHRU should be removed.
Testing
Once your DNS Firewall configuration is enabled, testing should take place immediately to check that the set-up is working correctly. There are various ways to test if the DNS Firewall is working as intended: by command line, browser, or by checking logging.
Command line - run nslookup or dig which will return a NXDomain result (which means does not exist and is the most command DNS Firewall response and the default for Spamhaus’s feeds)
secure-user@server:~# nslookup exampledomain.com
Server: 192.168.1.1
Address: 192.168.1.1

** server can't find exampledomain.com: NXDOMAIN
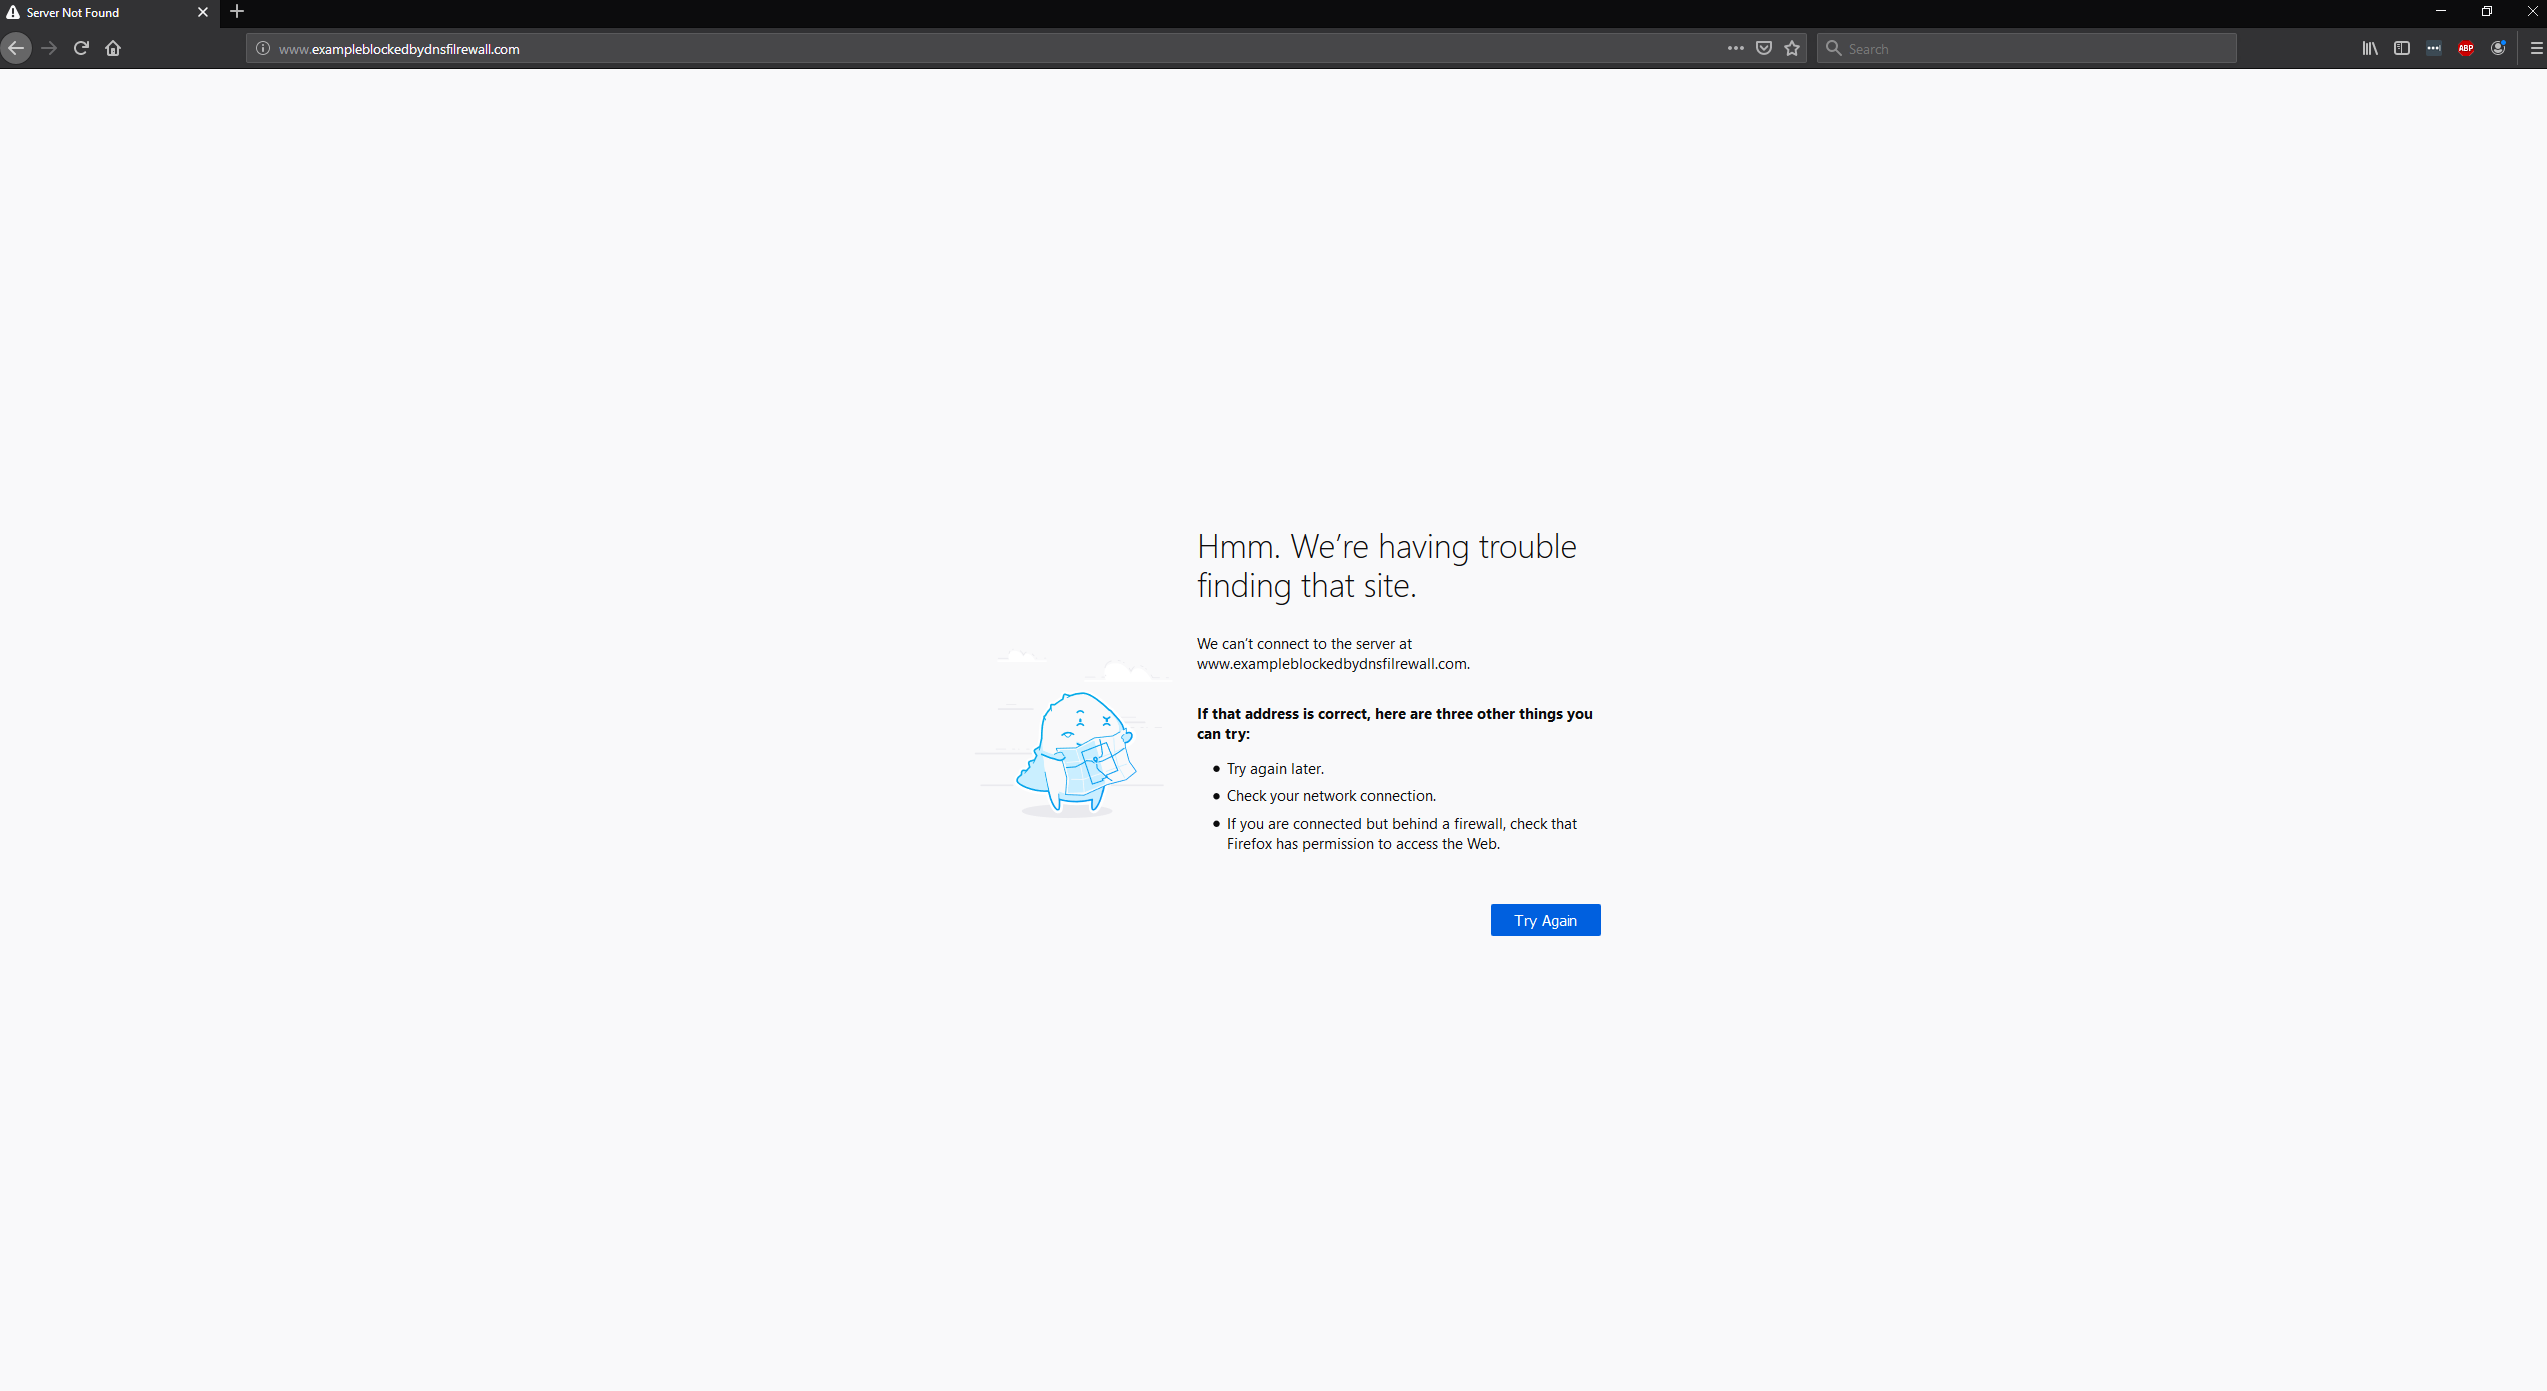
Browsers - they will return “This site cannot be reached”, “This webpage is not available” or similar.
Logging - check your rpz.log file that is being created from the logging that you setup at the beginning of your configuration. If you see logged rewrites, you know that it is working. Logs should look similar to the following
client 127.0.0.1#59320 (www.examplephish.com): rpz QNAME NXDOMAIN rewrite www.example.com via www.example.com.phishing.host.dtq
client 127.0.0.1#59325 (www.examplemalware.com): rpz QNAME NXDOMAIN rewrite www.example.com via www.example.com.malware.host.dtq
client 127.0.0.1#59621 (www.examplebotnetcc.com): rpz QNAME NXDOMAIN rewrite www.example.com via www.example.com.botnetcc.host.dtq
client 127.0.0.1#57360 (www.examplebadrep.com): rpz QNAME NXDOMAIN rewrite www.example.com via www.example.com.badrep.host.dtq
client 127.0.0.1#55214 (www.examplephish.com): rpz QNAME NXDOMAIN rewrite www.example.com via www.example.com.phishing.host.dtq
When testing in a browser or command line, if there is resoultion of the domains or IP address when it was expected to be blocked, there is a misconfiguration in your DNS Firewall. Remember to check if you have removed POLICY PASSTHRU when testing if resolution is not blocked. If your log file is empty check your named.conf file and look at logging under logging > channel rpzlog and that you have enabled DNS Firewall under options > response policy.